

Howdy Stampers!
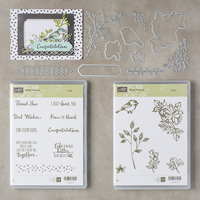
Thanks for taking time to visit my blog today. The Petal Palette suite on page 23 of the Occasions catalog and the coordinating Memories and More packet on Page 24 are, I believe, my favorite offering in this catalog. Well, maaaybee second to Waterfront but...I digress.

This is one of the more clean and simple cards that I have made with this bundle. I think you may just want to try this card! So....

I am going to add detailed instructions for you today. Please leave me a comment if you really like all the measurements and instructions! Your feedback (and your orders) are what keep me posting.
First: clickable icons of materials used followed by the detailed instructions.


Generated by SUDSOL, Free Trial at www.sudsol.org
And the details:
And the details:
Cutting & Scoring:
- Bermuda Bay - 8
½” x 5 ½”, score and fold at 4 ¼”
- Smoky Slate – (2)
5 ½” x 4 ¼”
- Whisper White –
3” x 4” plus scrap
- Foil Sheet – 3”
x 4”
Instructions:
- Die cut the
largest Stitched Shaped Oval framelit from Whisper White paper. Stamp the floral
image with Tuxedo Black ink close to the top of the oval and two more
times, slanted to the right and left, more toward the bottom as shown.
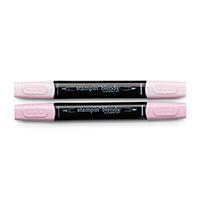
Color the flowers with the Pink Pirouette Blends and the leaves with the
Old Olive Blends.
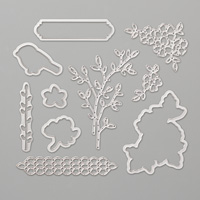
- Die cut the Silver
Foil sheet using the largest of the
scalloped ovals from the Layering Ovals Framelits. Mat under floral piece
with multipurpose glue then add stampin’ dimensionals.
- Stamp the bird
with Tuxedo Black ink onto a scrap of Whisper White paper. Color a small
amount of Pink Pirouette onto the tummy of the bird then blend with Smoky
Slate Blends, coloring the rest of the bird. Die cut bird with the
appropriate die from Petals and More. Adhere to the focal piece with
dimensionals. Add small bow, as shown, with mini glue dot.
- Die cut the two
floral pieces from the Bermuda Bay glimmer paper with Petal Palette
thinlits.
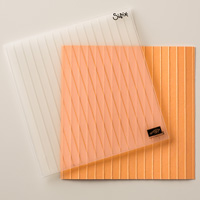
- Using the Simple
Stripes embossing folder, emboss one piece of Smoky Slate cardstock and
add to card base, debossed side up.
- Add focal point
to the center of the card front.
- Squeeze a small
amount of multipurpose glue onto the silicone craft sheet. Adhere the die
cut floral glimmer pieces by dabbing with multipurpose glue picked up with
stampin’ sponge from the silicone craft sheet.
- Add a Smoky
Slate panel to the inside of the card after stamping focal point floral
image to the lower right corner with Tuxedo Black ink. Add any sentiment
you choose inside.
No comments:
Post a Comment